

How to Create a DIY Hamster Tunnel System
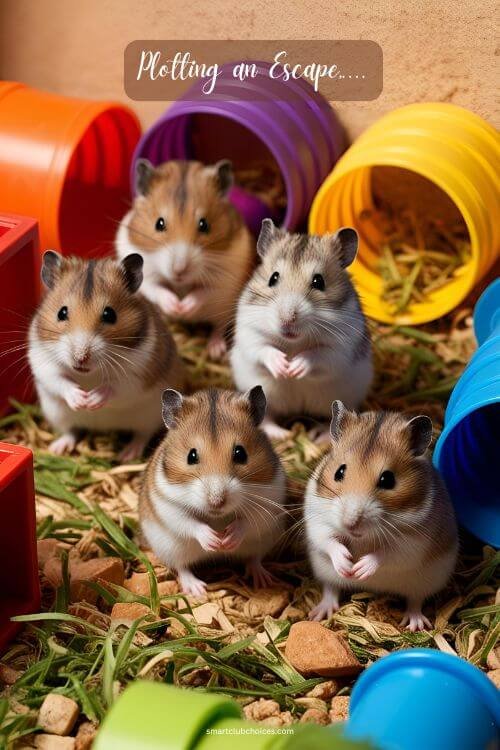
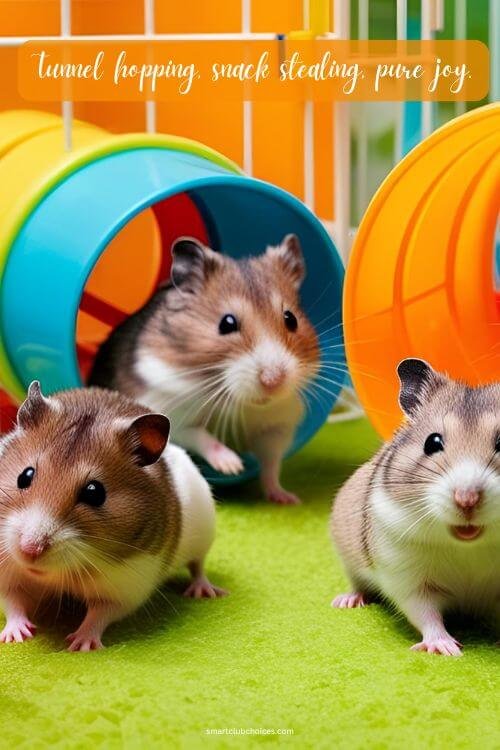
Hamsters are natural-born explorers. In the wild, they spend their days scurrying through tunnels, foraging for food, and generally living their best little lives.
So, why not bring a slice of that adventure into your hamster’s cage? A DIY tunnel system is the perfect way to enrich your hamster’s environment, keep them entertained, and give them a workout—all while flexing your creative muscles.
Plus, it’s a fun project that won’t break the bank. Ready to become a hamster architect? Let’s dig in!
Table of Contents
(1) Why Your Hamster Needs a Tunnel System
Before we start building, let’s talk about why tunnels are such a big deal for your hamster.
Mental Stimulation
- Tunnels provide endless opportunities for exploration and problem-solving.
- They keep your hamster’s brain active and engaged.
Physical Exercise
- Running through tunnels is a great way for your hamster to stay fit.
- It helps prevent obesity and keeps their muscles strong.
Natural Behavior
- Tunneling is a natural instinct for hamsters.
- A tunnel system mimics their wild habitat and reduces stress.
Fun for You
- Watching your hamster navigate their custom tunnel system is endlessly entertaining.
- It’s a great way to bond with your pet and show off your DIY skills.
Pro tip: A happy, stimulated hamster is less likely to develop bad habits like chewing on cage bars or over-grooming.
(2) Planning Your Tunnel System – The Blueprint
Every great project starts with a plan. Here’s how to design a tunnel system that’s both fun and functional for your hamster.
Consider Your Hamster’s Size
- Syrian Hamsters: Need wider tunnels (at least 2.5 inches in diameter).
- Dwarf Hamsters: Can use narrower tunnels (around 1.5-2 inches in diameter).
Choose the Right Materials
- Cardboard: Cheap, easy to work with, and safe for chewing.
- PVC Pipes: Durable and easy to clean, but make sure they’re non-toxic.
- Toilet Paper Rolls: Perfect for small connectors or short tunnels.
Plan the Layout
- Start Simple: A basic loop or straight tunnel is a good starting point.
- Add Complexity: Include multiple entrances, exits, and hidden chambers.
- Think Vertical: Add ramps or levels to create a multi-story system.
Safety First
- Avoid sharp edges or small parts that could harm your hamster.
- Ensure the tunnels are secure and won’t collapse during use.
Pro tip: Sketch out your design on paper before you start building. It’ll save you time and frustration later.
(3) Building the Tunnel System – Step-by-Step
Now that you’ve got a plan, it’s time to get building! Here’s a step-by-step guide to creating your DIY hamster tunnel system.
Gather Your Supplies
- Cardboard Tubes: From paper towels, toilet paper, or mailing tubes.
- Scissors or Craft Knife: For cutting and shaping the tubes.
- Non-Toxic Glue or Tape: To secure the tunnels together.
- Decorations: Paint, stickers, or markers (optional, but fun!).
Cut and Shape the Tubes
- Cut the tubes to your desired lengths.
- Create openings for entrances, exits, and connections between tunnels.
Assemble the Tunnels
- Use non-toxic glue or tape to connect the tubes.
- Make sure the connections are secure but not too tight—your hamster needs room to move.
Add Features
- Hideouts: Create small chambers by leaving some tubes uncut or adding cardboard boxes.
- Windows: Cut small holes in the tubes for extra light and ventilation.
- Ramps: Use cardboard or small wooden planks to create inclines between levels.
Test the System
- Before introducing your hamster, test the tunnels yourself to ensure they’re stable and safe.
- Make any necessary adjustments.
Pro tip: If you’re using PVC pipes, make sure to sand down any rough edges and clean them thoroughly before use.
(4) Decorating and Personalizing Your Tunnel System
A tunnel system doesn’t have to be boring. Here are some fun ways to personalize it and make it extra special for your hamster.
Add Color
- Use non-toxic paint or markers to decorate the tunnels.
- Stick to natural colors to avoid overwhelming your hamster.
Incorporate Themes
- Castle Theme: Add cardboard turrets and drawbridge entrances.
- Jungle Theme: Use green paint and add paper leaves for a jungle vibe.
- Space Theme: Paint the tunnels black and add star stickers.
Include Interactive Elements
- Treat Dispensers: Hide treats in small compartments for your hamster to discover.
- Obstacles: Add small hurdles or tunnels within tunnels for extra challenge.
Make It Expandable
- Design your system so you can easily add new tunnels or features later.
- This keeps things fresh and exciting for your hamster.
Pro tip: Let your hamster “approve” the decorations by observing their reactions. If they seem stressed by certain elements, remove them.
(5) Maintaining and Upgrading Your Tunnel System
A tunnel system is a living, breathing part of your hamster’s environment. Here’s how to keep it in top shape and make upgrades over time.
Regular Cleaning
- Spot Clean: Remove any soiled or chewed-up sections daily.
- Deep Clean: Disassemble and clean the entire system once a week with a pet-safe disinfectant.
Monitor Wear and Tear
- Check for signs of damage, like chewed edges or loose connections.
- Replace or repair any worn-out sections promptly.
Rotate Features
- Change the layout or add new tunnels every few weeks to keep things interesting.
- Introduce new decorations or interactive elements to keep your hamster engaged.
Expand the System
- As your hamster gets used to the tunnels, add more complexity.
- Create new levels, hidden chambers, or even connect multiple cages.
Pro tip: Keep a stash of extra cardboard tubes and supplies on hand for quick repairs or upgrades.
(6) Conclusion: A Tunnel System Your Hamster Will Love
Creating a DIY hamster tunnel system is a fun, rewarding project that benefits both you and your furry friend. It’s a chance to unleash your creativity, bond with your pet, and provide them with an environment that’s both stimulating and enriching.
Remember, the key to a great tunnel system is safety, functionality, and a little bit of flair. By following this guide, you can build a custom tunnel system that your hamster will love exploring—and you’ll love watching them explore.
So, grab your cardboard tubes, fire up your imagination, and get ready to create the ultimate hamster playground. Your tiny, furry explorer is counting on you!